Some General Notes about Our Builder: Jeff Paul Custom Homes (JPCH)
JPCH is comprised of only 5 people including Jeff Paul himself. From my observation of them, they are a close-knit group and use a “hands on” approach. Each person is very good at their particular role in the company. Jeff is easy going and very approachable. If I make a phone call to Jeff’s direct line, it is he who answers the phone. We like all of this about them.
Jeff has 2 Construction Managers. Our construction manager, Rick, has worked for Jeff about 30 years. If he sees something on our architectural plans that doesn’t seem right or he may think there’s a better way to do something, Rick will address his concerns with us and then let us make the decision of what we want to do about it, if anything. Since we are building long distance, we find comfort in Jeff and Rick’s knowledge and experience in the industry and local area.
Jeff’s staff also includes an interior designer, Jennifer, whose design expertise comes at no additional cost. She provides input, suggestions, and guidance for the homeowner’s many decisions to make with house selections. If needed she will go with you to look at and select tile, brick, granite, etc. Many of JPCH’s clients are in the process of relocating and Jennifer’s assistance with selections is a great help and relief to them (like ourselves). Lucia Harness (my interior designer) and I had already developed a history together by the time we started building so she really remains my main source for design expertise.

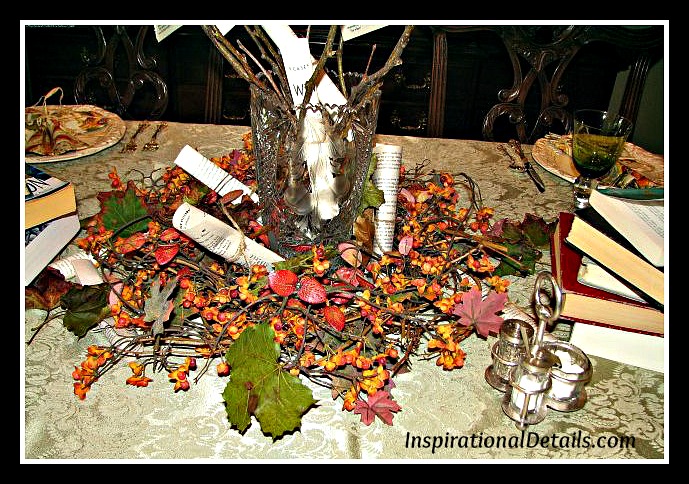
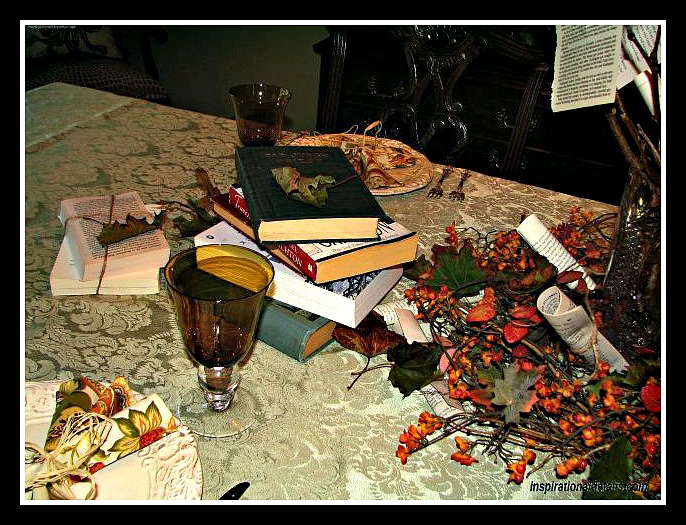
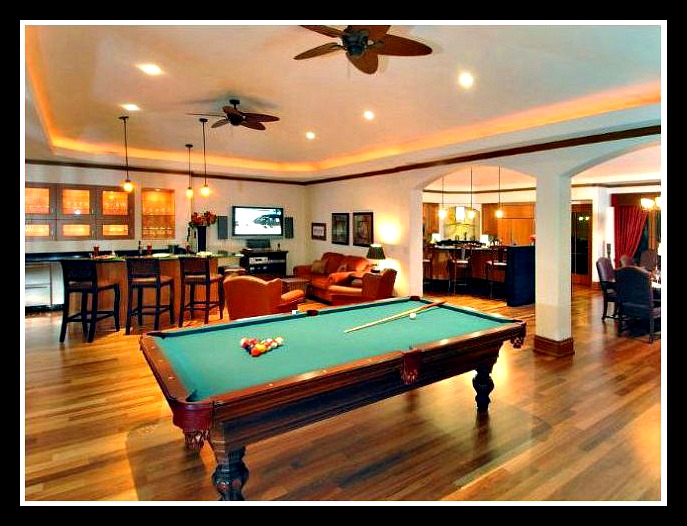
My husband threw the first party at our new home… an “Open House” with a few of his buddies
Recap Note about my “Building a Dream House” Posts:
We are more than halfway through our building process. The first several posts in this series are a quick look back.
Selecting the Exterior Materials for Our House
Some of you may not know but the exterior selections are the first decisions you will need to make in the building process. Of course it makes perfect sense when you think about the process, but the urgency of it did come somewhat as a surprise to me at the time. I would call our home “French Country Simplified”. It has many elements of French Country but not overly so. I even plan on the interior of our home to have cleaner and simpler features than some of the ‘extravagance’ that some French Country interiors can have.

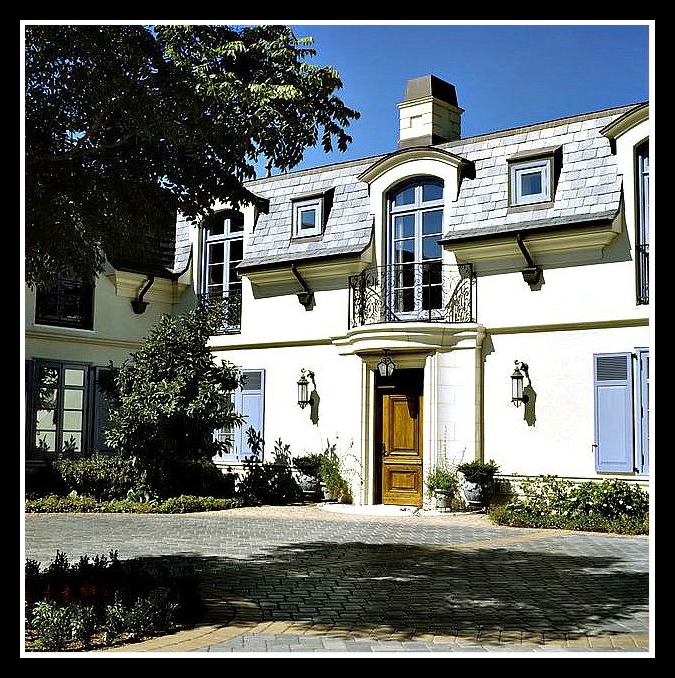
Photo credit: bgoodell
This house has always remained at the top of my list for House Exterior Inspiration. Most of you probably recognize and know this house from the movie, “Father of the Bride”. I fell in love with this house the first time I laid eyes on it. Even though, the exterior of this house is not French Country like our new home, I still wanted the instant charm and appeal that I feel this house exudes.

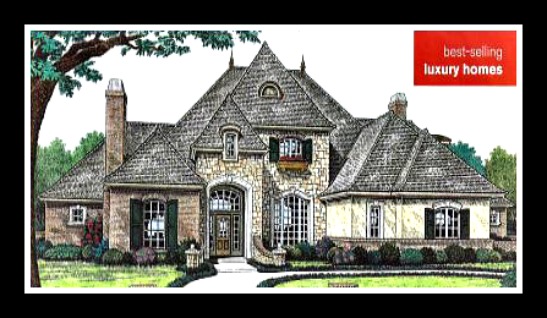
Photo from a BRIC ad
(Building Real Estate & Investment Corporation)
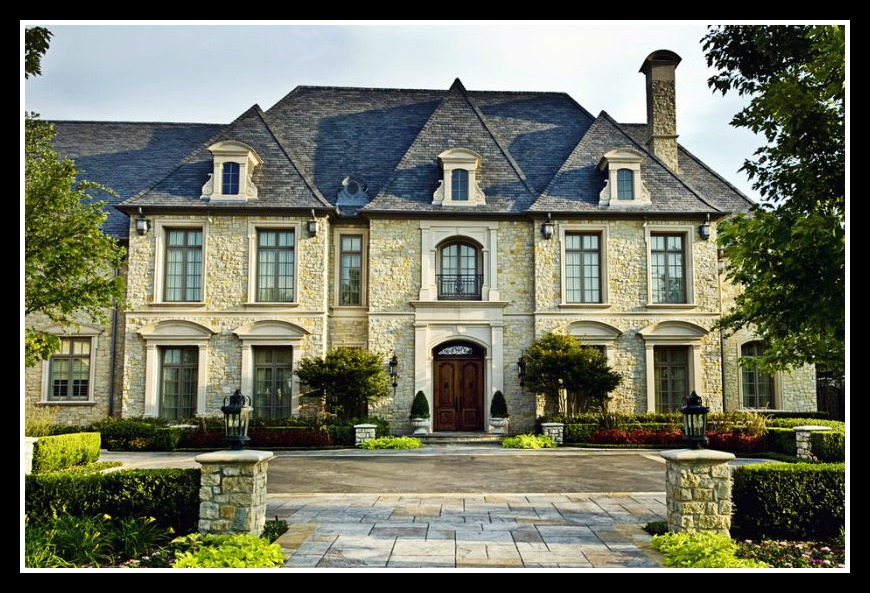
This picture was one of my favorites in my file for several reasons: all the beautiful stone, the turret, the interesting elements of the roof, and the copper downspouts with the water collector feature.

Photo credit: Gridley & Graves (via Houzz)
Design by: Felhandler/Steeneken Architects
(fs-architects.com)
I find this exterior to be traditional French Country – a very soothing color palette.

Photo credit: Coastal Living
What a great “Nightscape Appeal” (just as important as daytime) this exterior has.
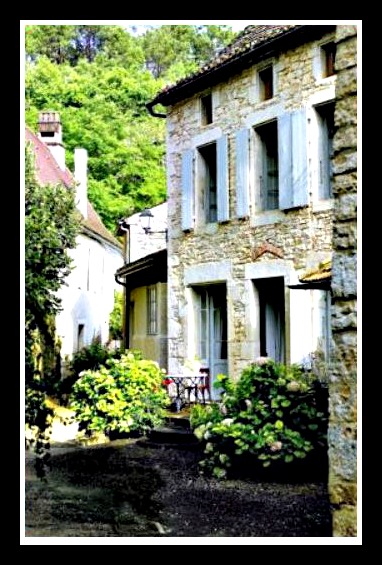
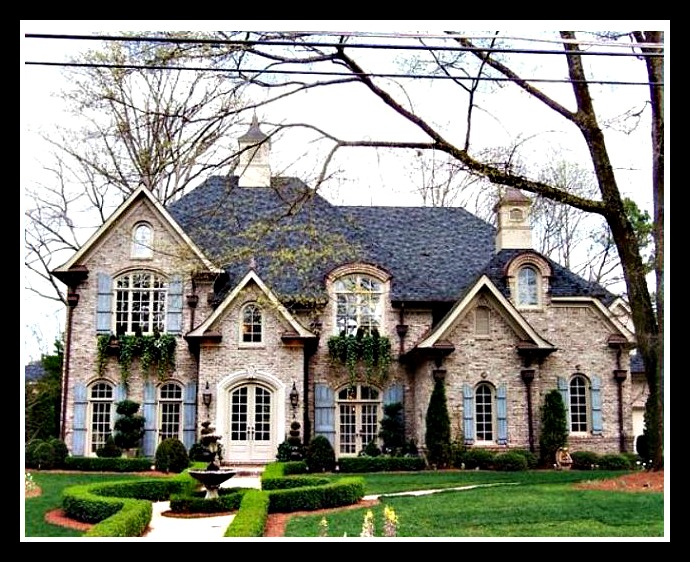
Photo credit: homelife.com.au
(via Pinterest)
I really wanted the exterior of our home to look like it had been built about a hundred years ago.

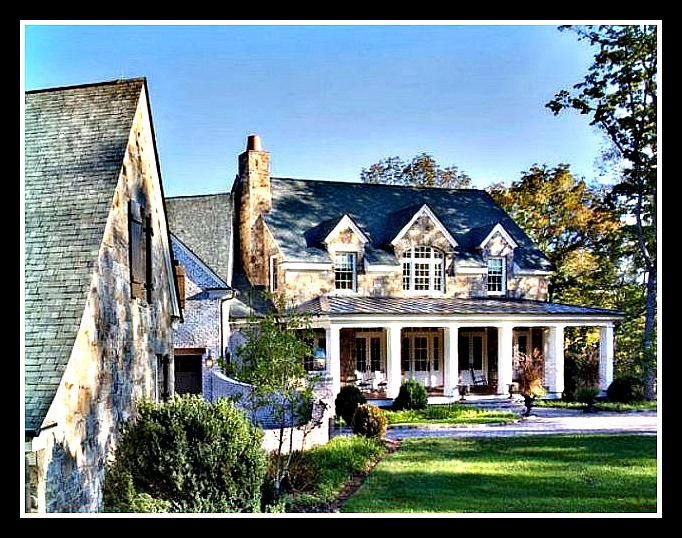
Photo credit: eplans.com
I found inspiration in the sweeping front porch facade like this exterior design.

Photo credit: Houzz
Design by:
a + b Kasha Designs
This house by a + b Kasha Designs has a Rustic French Country Exterior and looks like it belongs in the French countryside.

Photo credit: Houzz
Design by:
Norris Architecture
This home by Norris Architecture has a timeless appeal to it and a wonderful “southern style” front porch.

Photo credit: Houzz
Design by:
Natchez Stone Company
There’s lots of inspiration to gain from this photo. Who wouldn’t want to dine in this courtyard by Natchez Stone Company?

Photo credit: Houzz
Design by:
Construction Innovations & Contracting
I find this home, constructed by Construction Innovations & Contracting, a perfect example of an extraordinary French Country Exterior.
Roof Details
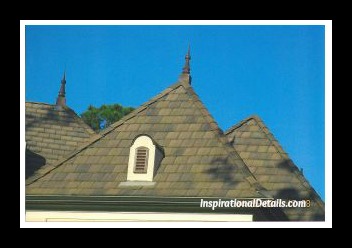
We did try to incorporate a couple of French Country aesthetics into our roofline by adding finials and through our selection of roofing material. We selected Monier Lifetile roof tiles. These tiles are made of concrete and are supposed to be very durable. We had actually seen them on another home Jeff had built and really liked the look.


We upgraded to a “Staggered Roof Tile”. We felt it gave us a more Old World look with a reasonable cost. It also reminds me of a cedar shake roof you see a lot in the northern parts of the U.S.
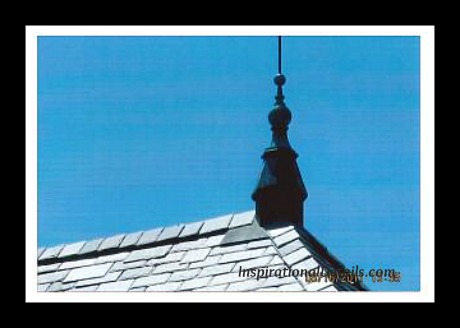
Finials

I saw this finial last year when we travelled to France. This is the finial I really wanted to use on our house. Even though I spent a fair amount of time trying to locate a company that makes a similar style, I never did.


Some other styles of finials used commonly on homes.

This is another finial we highly considered using on our roof. I still really like this one.
 We originally saw this one on a beautiful French Country home in the area we are building. The exterior of this home has blue elements to it that work well together. I found myself continuing to go back to this one in particular.

One of the finials on our new home. We were able to track down the manufacturer of the one we originally saw on the blue house pictured above. Each finial stands close to 5 feet tall.
Weep Hole Covers

We also put in weep hole covers. Weep holes, for those of you unaware, are gaps purposely built-in to the lower layer of masonry wall construction to allow the wall to drain and ventilate for moisture purposes. Unfortunately, weep holes also allow pests access to the interior of your house. Weep hole covers stop rodents and most little critters from entering your home while still allowing the wall to vent. They are not costly and can easily be put in during the masonry construction phase of building. I would highly recommend them especially if you live in the southern regions of the U.S.
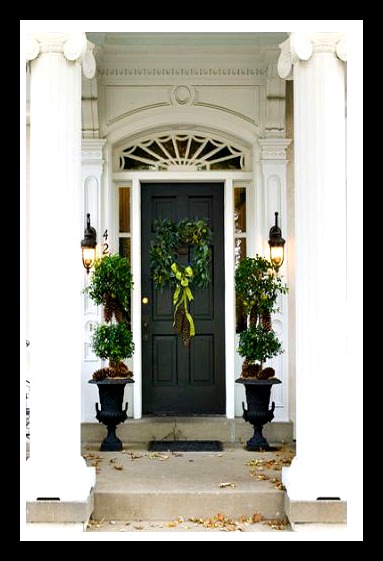
Front Door Wreath

Photo credit: Pinterest
(Etsy.com)
One of the final details to our home exterior will be a wreath hung on our front door. Even though, I won’t be making this “selection” for quite awhile, you can be sure it will be there shortly after we officially “close” on our new home.


